Preparation Time
- Prep Time: 25 minutes
- Cook Time: 10 minutes
- Chill Time: 30 minutes
- Total Time: ~1 hour 5 minutes
Ingredients
Here’s everything you’ll need to make about 10–12 cheesecake tacos.
For the Taco Shells
- 10–12 small flour tortillas (street taco size works best)
- ½ cup granulated sugar
- 1 teaspoon cinnamon
- ¼ cup unsalted butter, melted
For the Cheesecake Filling
- 8 oz cream cheese (softened)
- 1 cup heavy whipping cream
- ¾ cup powdered sugar
- 1 teaspoon vanilla extract
For the Strawberry Crunch Topping
- 20 Golden Oreo cookies (crushed)
- 2 tablespoons unsalted butter, melted
- 1 package (3 oz) strawberry gelatin powder (Jell-O or similar)
For the Strawberry Layer
- 1 ½ cups fresh strawberries (diced)
- 2 tablespoons granulated sugar
Instructions
Step 1: Prepare the Taco Shells
- Preheat the oven to 375°F (190°C).
- Mix the sugar and cinnamon in a shallow bowl.
- Brush each tortilla lightly with melted butter on both sides.
- Dredge each tortilla in the cinnamon-sugar mixture until coated.
- Flip a muffin tin upside down. Tuck each tortilla between the cups to form a taco shell shape.
- Bake for 8–10 minutes until golden brown and crispy. Let cool completely before filling.
Step 2: Make the Strawberry Crunch
- Crush the Golden Oreos into fine crumbs (a food processor or ziplock bag + rolling pin works).
- Mix the crumbs with melted butter and strawberry gelatin powder until evenly combined.
- Spread onto a baking sheet and bake for 5 minutes at 350°F (175°C) to set. Let cool.
Step 3: Prepare the Cheesecake Filling
- Beat the softened cream cheese until smooth.
- Add powdered sugar and vanilla extract, beating until creamy.
- In a separate bowl, whip heavy cream until stiff peaks form.
- Gently fold whipped cream into the cream cheese mixture until fluffy.
- Transfer filling into a piping bag for easy assembly.
Step 4: Prepare the Strawberries
- Dice the strawberries into small pieces.
- Toss them with sugar and let sit for 10 minutes to release juices (this creates a sweet strawberry syrup).
Step 5: Assemble the Cheesecake Tacos
- Pipe cheesecake filling into each cooled taco shell.
- Spoon strawberries on top.
- Sprinkle generously with strawberry crunch topping.
- Optional: drizzle with white chocolate or strawberry sauce for extra indulgence.
Tips for Success
- Make Ahead: You can prepare the shells, filling, and crunch a day in advance. Assemble just before serving for the crispiest results.
- Shell Alternatives: Use graham crackers or waffle cones shaped like tacos if you prefer a no-bake option.
- Flavor Variations: Try other gelatin flavors (raspberry, cherry, or even lemon) for different crunch toppings.
- Extra Creamy Filling: Add a tablespoon of sour cream for a tangier cheesecake flavor.
- Storage: Store filled tacos in the fridge for up to 24 hours, but the shells will soften. For best texture, store components separately.
How to Serve
These cheesecake tacos are perfect for:
- Dessert tables at parties.
- Summer BBQs as a refreshing sweet treat.
- Holiday gatherings (decorate with themed sprinkles).
- Romantic date nights—a playful twist on strawberries & cream.
Serve chilled with a cup of coffee, a glass of champagne, or even a scoop of vanilla ice cream on the side.
Calories & Nutrition (per taco, approx.)
- Calories: ~280 kcal
- Carbohydrates: 32 g
- Protein: 4 g
- Fat: 16 g
- Sugar: 21 g
- Fiber: 1 g
Note: Nutrition may vary based on tortilla size and toppings used.
Final Thoughts
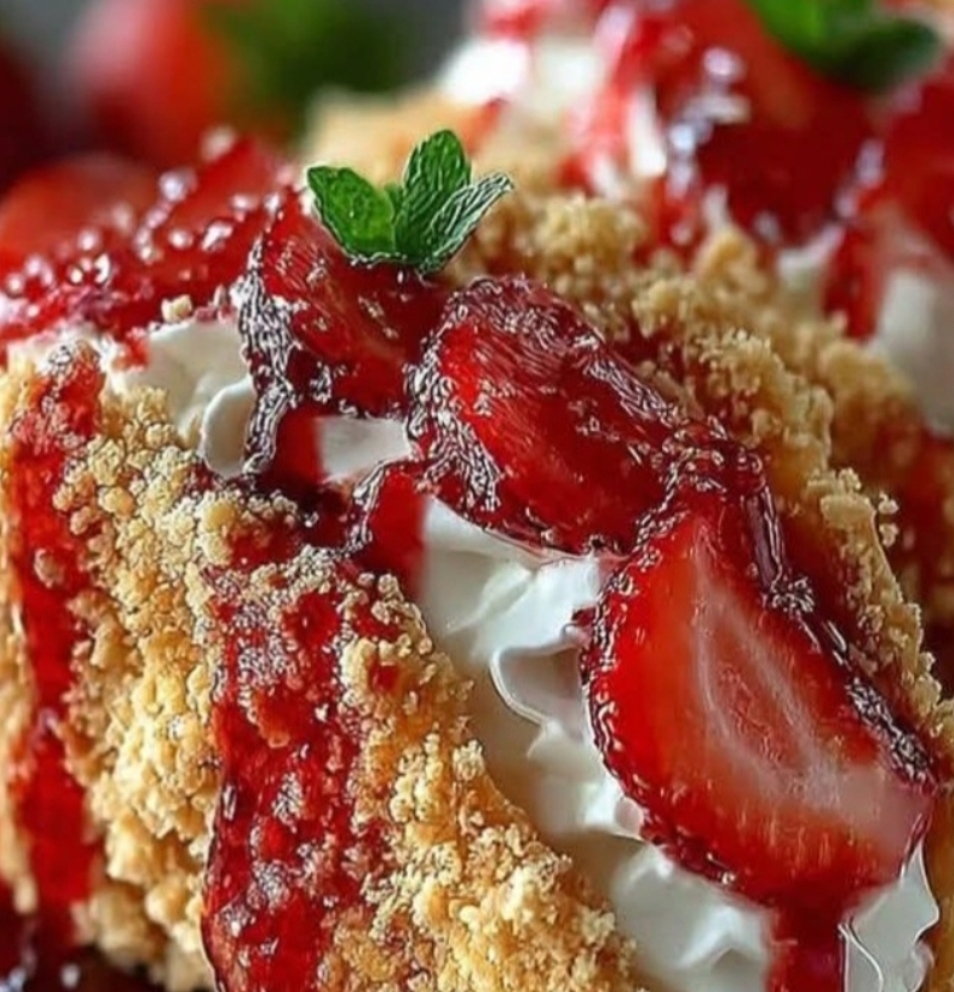
Strawberry Crunch Cheesecake Tacos are proof that desserts don’t have to be complicated to be impressive. With their crispy cinnamon-sugar shells, creamy cheesecake filling, juicy strawberries, and nostalgic strawberry crunch topping, they strike the perfect balance of sweet, creamy, fruity, and crunchy.
Whether you’re making them for kids, friends, or just to treat yourself, these tacos will put a smile on everyone’s face. And the best part? You can mix and match flavors endlessly—think Oreo Crunch Tacos, Blueberry Cheesecake Tacos, or even Chocolate Peanut Butter Cheesecake Tacos.
If you’re looking for a show-stopping dessert that’s as fun to make as it is to eat, this recipe is a must-try.
